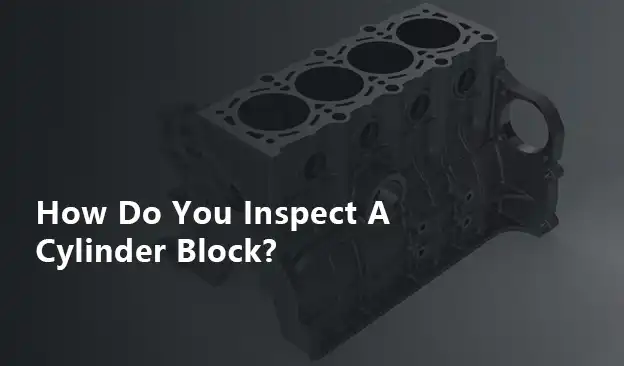
How Do You Inspect A Cylinder Block?
Cylinder block inspection
Water pressure method for crack detection of cylinder block water jacket: seal the outlet of cylinder block water jacket. Use a hydraulic press to press water into the water jacket at a pressure of 343~443Kpa and keep it for 5 minutes. Check the surface for water penetration.
- Check the upper and lower flatness deviation of the cylinder block: Weave the cylinder block on a flat plate, use a knife-edge ruler with a length greater than the length of the cylinder block, and place it on the plane of the cylinder block to check the thickness of the place where light leakage occurs. The cylinder plane is required to be every 50mm*50mm. The flatness deviation within the range is not more than 0.05mm. On the entire length plane, the limit deviation of cast iron and aluminum alloy cylinder blocks with cylinder block lengths less than 600mm is 0.15mm.
- Crankshaft bearing hole concentricity inspection: Use a comprehensive gauge consistent with the bearing size to detect the concentricity error of the crankshaft bearing hole and camshaft bearing hole. If the error is within the range specified by the standard, the measuring rod can pass through the shaft hole, otherwise, the measuring rod cannot pass through. Usually, long rods are used to detect all crankshafts on the entire cylinder block, and short rods are used to detect errors between two adjacent bearing holes.
- Detection of the vertical error of the axis of the crank bearing hole on the rear end of the cylinder block: use the positioning sleeve and the axis to fix the dial surface on the axis, make the shaft of the table frame and the axis of the axis vertical, and rotate the axis at the same time, Move the dial indicator along the shaft to measure the total runout of the largest end face, which is the measured error.
Maintenance of the upper surface of the cylinder block
When the flatness of the cylinder block for sale exceeds the limit, it should be repaired by grinding. In order to ensure that the axis of the cylinder and the axis of the crankshaft are perpendicular to each other after repair, the positioning datum must be selected. Generally, the joint surface between the front and rear bearing holes of the main shaft of the cylinder block and the bearing cap is used as the benchmark, and the boring amount is usually within 0.24~0.25mm.
cylinder repair process
The wear of the cylinder is usually measured with an inner diameter gauge (also called a red gauge). Put the dial indicator into the upper-end hole of the gauge stem. When the needle swings slightly, you can use the lock nut to fasten the dial indicator. Generally, the surface is in the same direction as the movable measuring rod. According to the measured cylinder diameter, select an extension rod with a suitable length, screw on the fixing nut, and install the extension rod into the extension rod seat at the lower end of the gauge rod of the measuring cylinder. Then tighten the fixing nut on the post. Insert the measuring rod of the measuring cylinder gauge into the upper part of the cylinder, and adjust the length of the connecting rod. It is suitable when the needle rotates 1~1.5 times. The "g" bit aligns the positive pointer. When measuring, the measuring cylinder gauge should be swung back and forth so that the measuring rod is perpendicular to the axis of the cylinder, so that the measurement can be accurate.
 Track Your Order


