How To Change Fuel Filter On John Deere Tractor?
With the continuous development of agricultural machinery, John Deere tractors have become a powerful assistant in modern agriculture. To ensure the stable performance of the tractor, regular replacement of the fuel filter is very important. In this article, MyMROmarts will discuss how often the fuel filter on a John Deere tractor should be replaced and the detailed John Deere fuel filter change steps.
How Often Should You Change Fuel Filter?
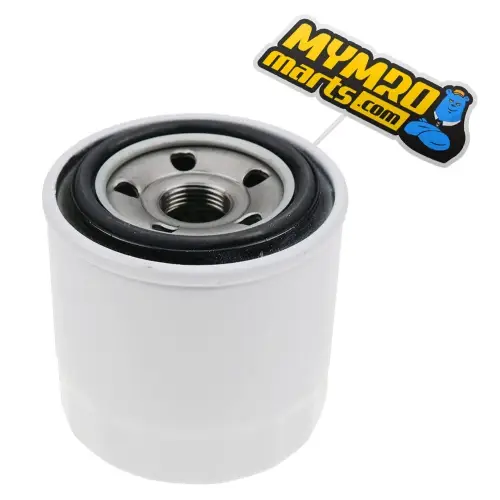
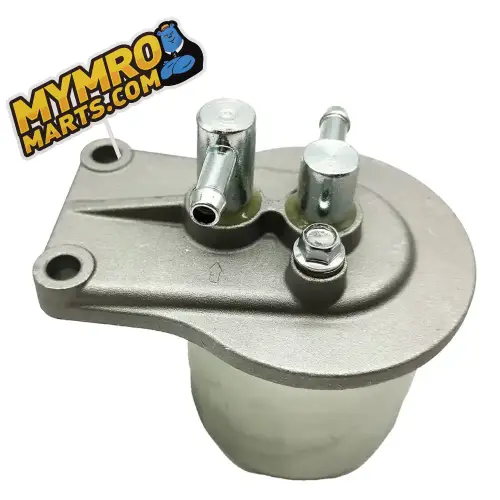
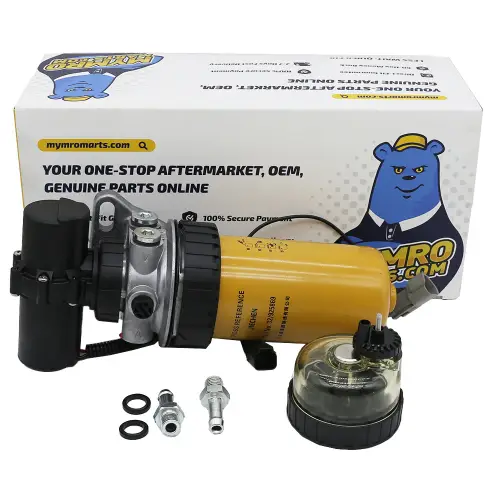
The fuel filter on a John Deere tractor is not a one-time fix and needs to be replaced regularly. The fuel filter's housing is usually made of metal or plastic, with a replaceable filter element inside. The fuel filter element removes iron oxide, dust, moisture, and other impurities in the fuel to prevent the fuel system from being clogged and reduce wear and tear on the engine and other diesel engine parts. Under normal circumstances, the replacement cycle of the engine fuel filter element is to be replaced after the first 250 hours of operation, and after every 500 hours of operation. In actual practice, you should flexibly grasp the replacement time according to the different quality levels of fuel used.
How To Change Fuel Filter On John Deere Tractor?
1. Preparation
Before changing the John Deere fuel filter, bring the packaging tractor to a stop and apply the brakes firmly. Have the required tools, a new fuel filter and the right amount of fuel ready.
2. Locate the fuel filter
The fuel filter on a John Deere tractor is usually located on the side or bottom of the engine. You can use your tractor's operator's manual to determine the exact location. After locating the fuel filter, clean the surrounding area to prevent impurities from entering the fuel system.
3. Prepare the oil change pan
Place a suitable oil change pan under the fuel filter to collect leaking fuel. This step ensures the cleanliness of the work area and facilitates subsequent cleanup.
4. Remove the old fuel filter
You can use a wrench and gently turn the engine fuel filter counterclockwise until it becomes loose. Then, unscrew it completely with your hands. Note that a small amount of fuel will drip at this time, so you need to prepare enough oil change pans in advance to collect this dripping fuel.
5. Prepare a new fuel filter
Coat the new fuel filter with some clean fuel. Also, apply some lubricating oil on the sealing rubber ring of the fuel filter to facilitate future replacement of the fuel filter and improve the sealing of the fuel filter.
6. Install a new fuel filter
Hold the new fuel filter finger-tight in place, then use a wrench to turn counterclockwise 1/4 to 1/2 turn until tight. Do not over-tighten the fuel filter during operation to prevent damage to the fuel filter.
7. Inject fuel
Open the tractor's fuel supply valve and wait a few minutes until the new fuel filter is filled with fuel. Before you start the tractor's engine with the help of the starter motor, carefully check for fuel leaks.
8. Start the tractor
After starting the tractor and letting it run for a few minutes, observe whether there is any abnormal noise or fuel leakage. If everything is OK, shut down the tractor and clear the work area.
 Track Your Order


