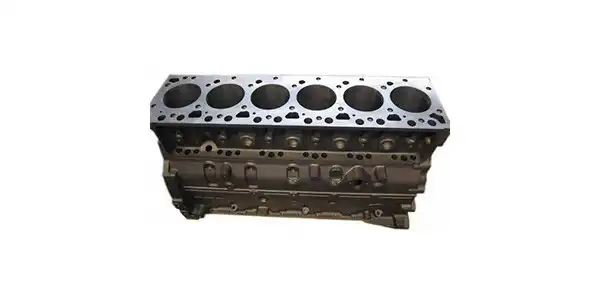
Inspection and Maintenance of Cylinder Block
1.Inspection of cylinder block
Cylinder block water jacket crack detection with water pressure method: close the outlet of the cylinder block water jacket, press water into the water jacket with a water press at a pressure of 0.3~0.4MPa, keep it for 5min, check all parts of the surface, if there is water seepage, it means that there are cracks there.
1) Detection of upper and lower flatness deviation of cylinder block
Place the cylinder block on the flat plate, use a knife-edge ruler or optical axis longer than the length of the cylinder block, and place it on the plane of the cylinder block, and use a thickness gauge to detect the light leakage. It is required that the flatness deviation of the cylinder block plane within the range of every 50mmX 50mm is not more than 0.05mm, and the deviation on the entire length plane is 0.15mm for cast iron and aluminum alloy cylinder blocks whose length is less than 600m. The length of the cylinder block is greater than 600m, cast iron cylinder is 0. 25mm; aluminum alloy cylinder is 0. 35mm. When the limit is exceeded, grinding should be carried out.
2) Detection of coaxiality of crankshaft bearing holes
Use a comprehensive gauge with the same size as the bearing hole to detect the coaxiality error of the crankshaft bearing hole and the camshaft bearing hole. If the coaxiality error is within the range specified by the standard, the measuring rod can pass through the bearing hole. Otherwise, the measuring stick will not pass. Usually, the long rod is used to detect all crankshafts on the entire cylinder block: the short rod is used to detect the coaxiality error of two adjacent bearing holes.
3) Detection of the verticality error of the rear end of the cylinder block facing the axis of the crankshaft bearing hole
Use the positioning sleeve and the mandrel (the mandrel must have axial positioning) to fix the dial indicator on the mandrel, so that the guide rod of the watch stand is perpendicular to the axis of the mandrel.
4) The parallelism error of the crankshaft bearing axis and the camshaft bearing axis is checked at
Install a centering sleeve in the crankshaft bearing hole and the camshaft bearing hole, insert the measuring mandrel into the sleeve, and use a micrometer to measure the distance between the two axes at both ends of the mandrel, which should not be greater than 0.10mm.
2.Repair of the plane on the cylinder block
When the flatness of the plane on the cylinder block exceeds the limit, it should be repaired. The method of repair is before milling or grinding. In order to ensure that the axis of the steam rainbow and the axis of the crankshaft are perpendicular to each other after milling and grinding, the positioning datum must be selected. Generally, the joint surface between the front and rear bearing holes of the main shaft of the cylinder and the bearing cap is used as the benchmark. In order not to affect the compression ratio due to the reduction of the cylinder stroke after milling the upper plane of the cylinder block, the milling amount should be generally controlled within 0.24~0.25mm.
 Track Your Order


